Designing A Rock Garden
Steep slopes really limit your landscape designs. Too steep to mow safely, slopes like this are hard to plant and hard to care for. One option is to design and install a rock garden.
Definition of Rock Garden
A rock garden is an outcropping of rocks that you nestle a careful selection of perennials, annuals, ground covers, and shrubs. Putting a rock garden on a slope mimics a natural rock outcrop. However, you can place a rock garden on gentle slopes or even on flat ground.
Take an Inventory of the Site
Before buying or building anything, you need to do an inventory of the site. Measure the drainage, elevation, soil, amount of sun, availability of rocks, existing plants, and the availability of water to irrigate the area. Once you have an idea of potential living conditions for any plants, you are ready to start designing a rock garden that will thrive.
Remove Existing Plants
The first step in building a rock garden is to remove the existing plants. You can dig them out, but that is very labor intensive. If you cover the area you want to install the rock garden on in thick cardboard, it will help smother the existing vegetation and is relatively easy to do.
Soil Base
A base of equal parts grit, compost, and soil should be spread over the area. The soil base should be 12-18 inches deep. If you have a flat area you want to be a rock garden, you can build a mound into which you place your boulders, smaller rocks, and plants.
Stone as Mulch
Stones, from pebbles to boulders, are considered a permanent mulch. They do not decompose, at least not on a human lifespan scale, so do not have to be added to after the stones are spread. Covering the soil base with pebbles, small rocks, and boulders will keep weeds from growing and keep the cardboard and soil from blowing away.
Sourcing Rock
If you live somewhere that has a very rocky soil, you can use rocks you remove from other areas of your landscape. Most people, however, will have to buy their rocks. Rocks can be bought from big box stores, independent nurseries, and specialist rock sellers. Make sure you know where in your garden the rocks are going to go before you have them delivered. Otherwise, you will have to move them yourself despite their weight.
Placing Boulders
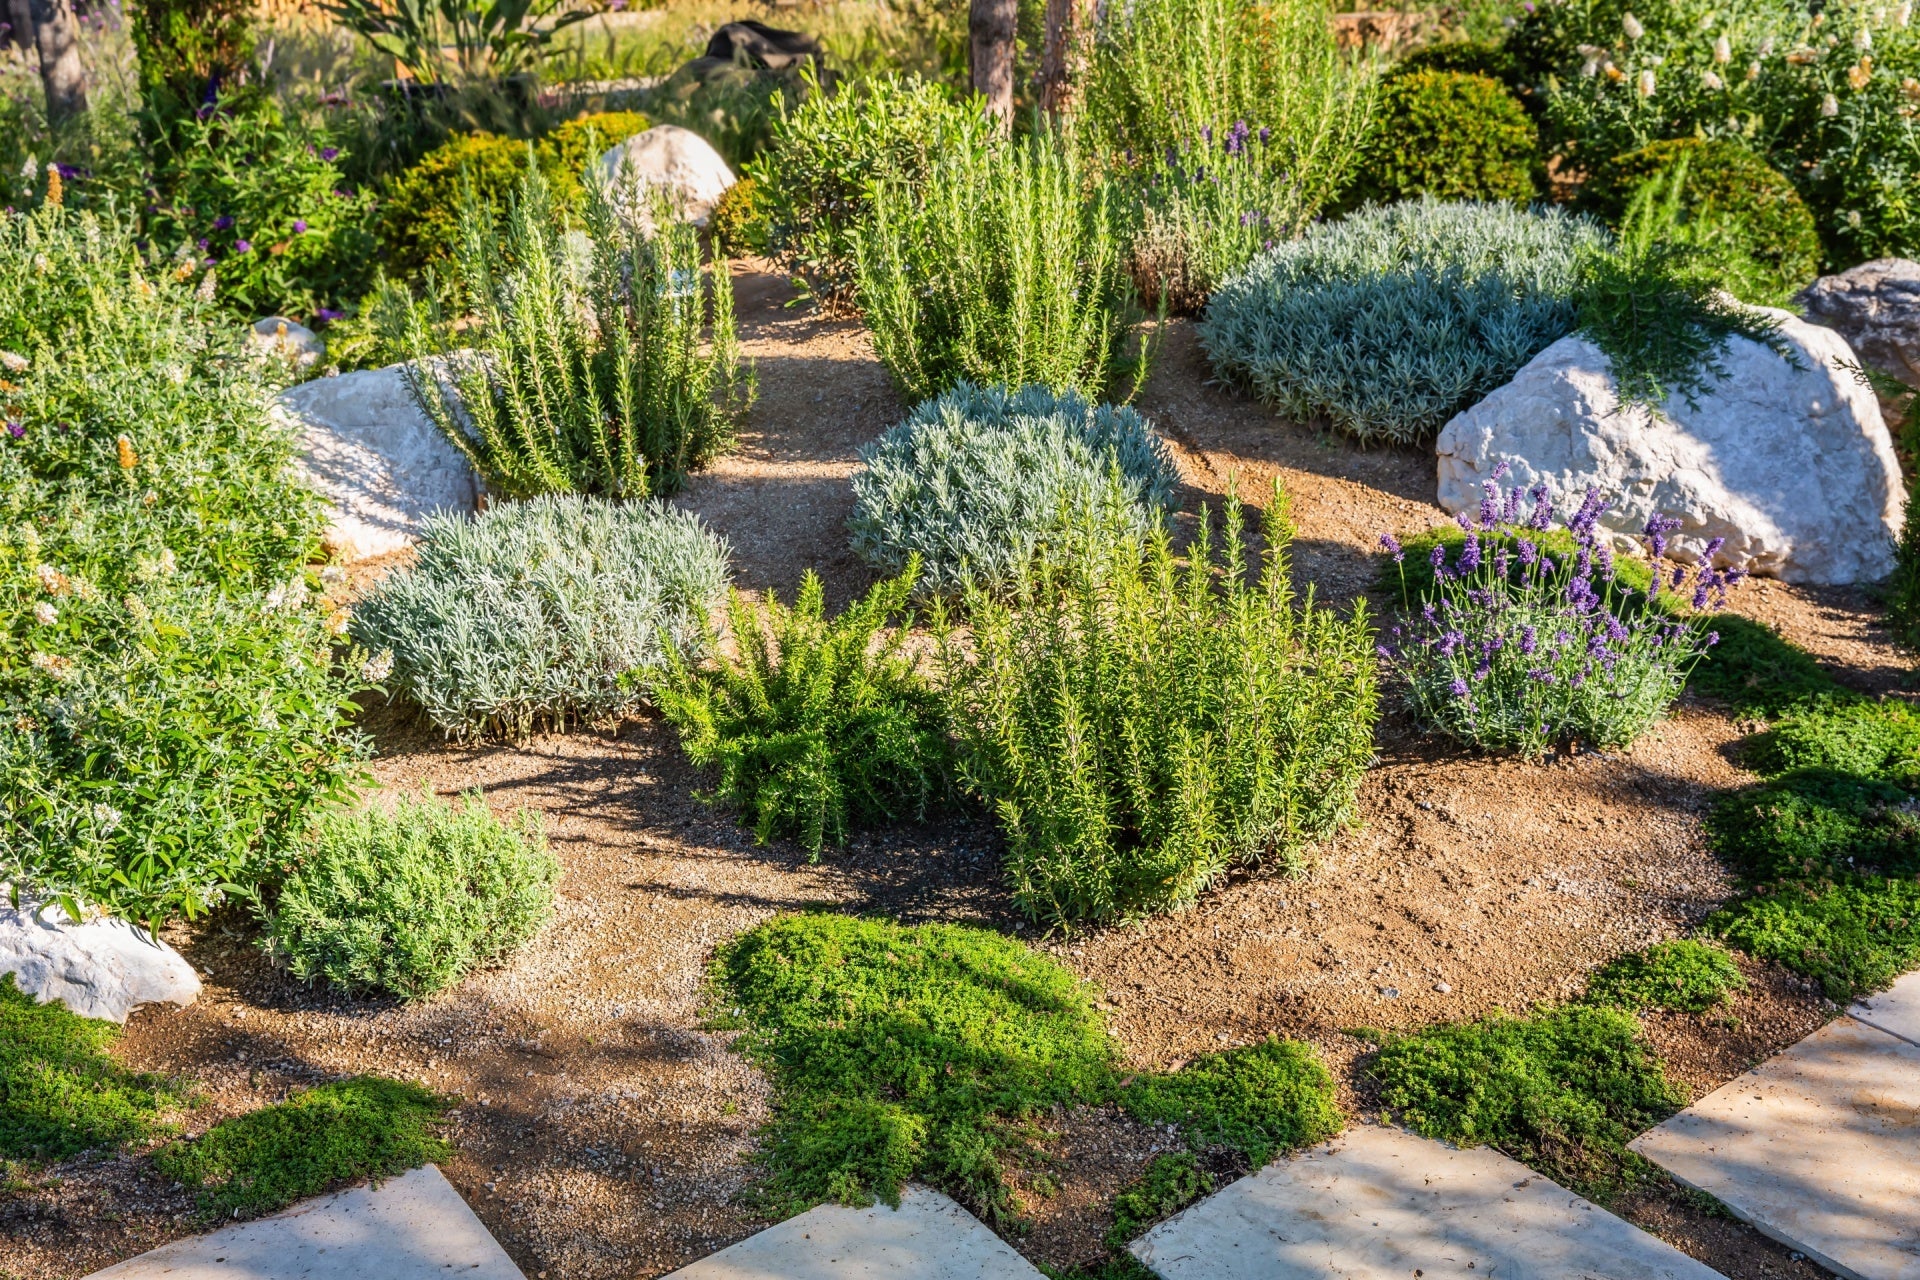
A boulder is a rock over 200 pounds. Placing boulders can require a bobcat or other small front-end loader to lift the heavy stone and place it where you want it. Typically, you place large boulders at the base of the slope, but you also need to place some higher up. These should appear to be outcroppings of stone.
Boulders should have one third of their bulk buried to keep them from tumbling down a slope in a storm. Place the best side looking toward the area you will view the rock garden from. Pick boulders and smaller rocks that are native to the area or that go with your buildings. Pick rock from one geological region so the stone matches.
Placing large stones in a line with gaps between the stones looks natural. The gaps are where you can put plants. Place several rows of boulders across the entire site. Stagger the rows so they are not ruler straight, which would look unnatural.
Leave enough room between rows to put some large rocks between the stones. This simulates rocks that have cracked off the outcropping and fallen below them. Flat stones should be angled backwards so that water runoff is directed back into the slope. Otherwise, the water can erode the area and create a waterfall that washes away your soil mix. When you are finished placing your boulders and smaller rocks, they should have soil around the base and should not rock or move when touched.
Trails
Natural looking trails can be built throughout the site if it is not too steep to walk on safely. You can use stones as steppingstones or build a set of stone steps. Be sure the steps are anchored properly and are not too tall. Wind the trail through the garden to make sure people can see the plants and boulders up close. You can use crushed rock of the same type that the boulders are if the trail isn't too steep.
Planting Your Rock Garden
Conifers give winter interest and should be scattered around the rock garden. Conifers come in many shapes and sizes. Choose small conifer shrubs instead of big conifer trees. The smaller size makes the boulders look bigger in comparison.
The next plants that should be used are dwarf deciduous shrubs. Again, scatter them among the rocks throughout the garden. Their new leaves in the spring give a welcome reminder that warmer weather is just around the corner.
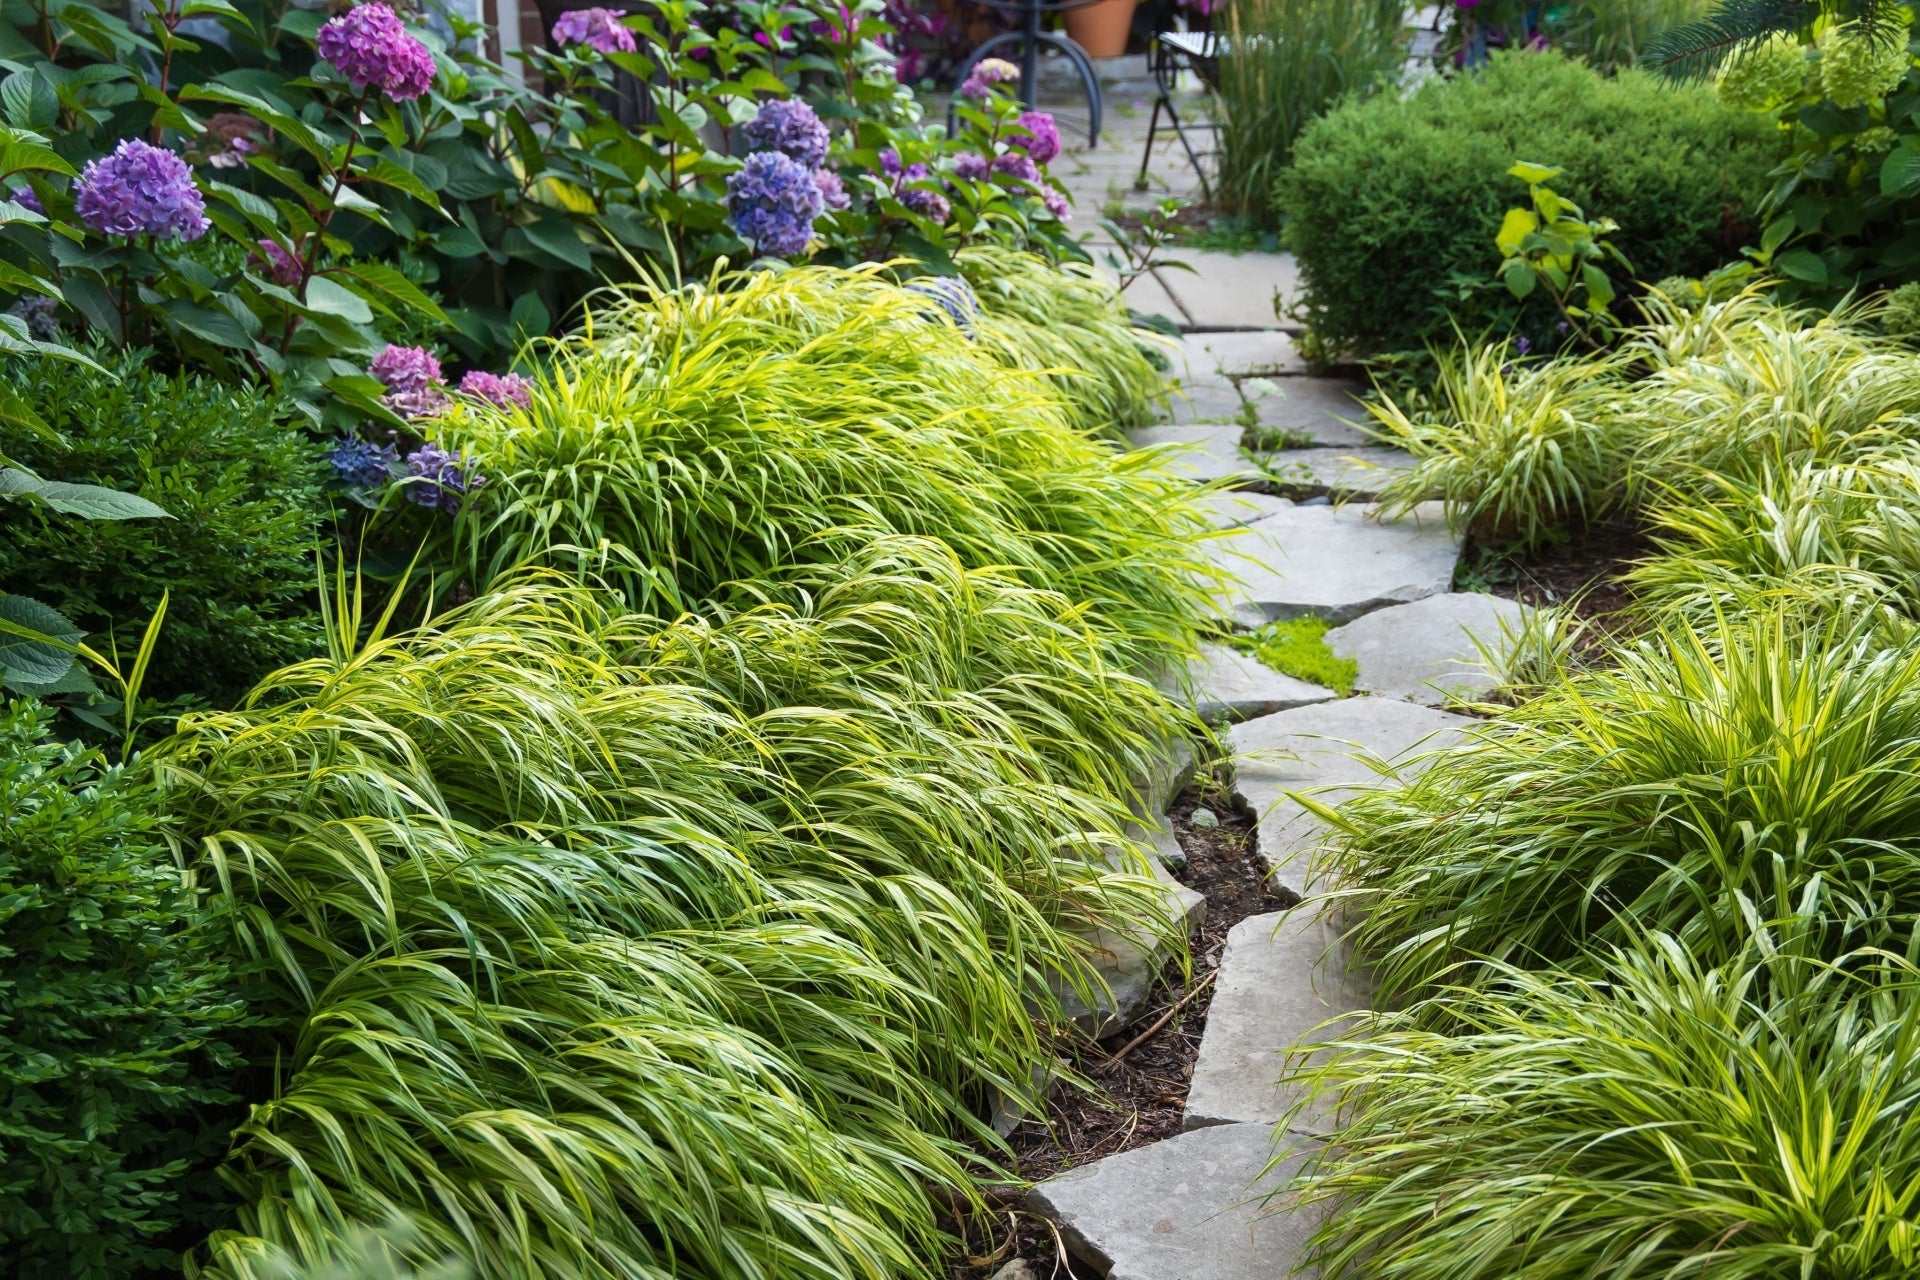
Grasses give an interesting texture to the garden. They blow in the breeze and many of them turn colors in the fall.
The biggest group of plants will be the perennials. Choose perennials that are no more than twelve inches tall. Place them in the nooks between rocks. Planting your perennials on the east side of the boulders gives them some shade in the hot summer sun. You can place shade loving perennials in the shadow of larger boulders. Place plants in groups of 3,5, or 7 in irregular clumps. These look more natural than straight lines. Some versatile flowering ground covers such as creeping buttercups, bird's foot violet, evening primrose are examples of plants that do well in a rock garden.
Annuals that reseed each year can be used to add instant color, especially when the rock garden is new. Annual phlox looks nice and blooms a long time. It attracts bees and butterflies.
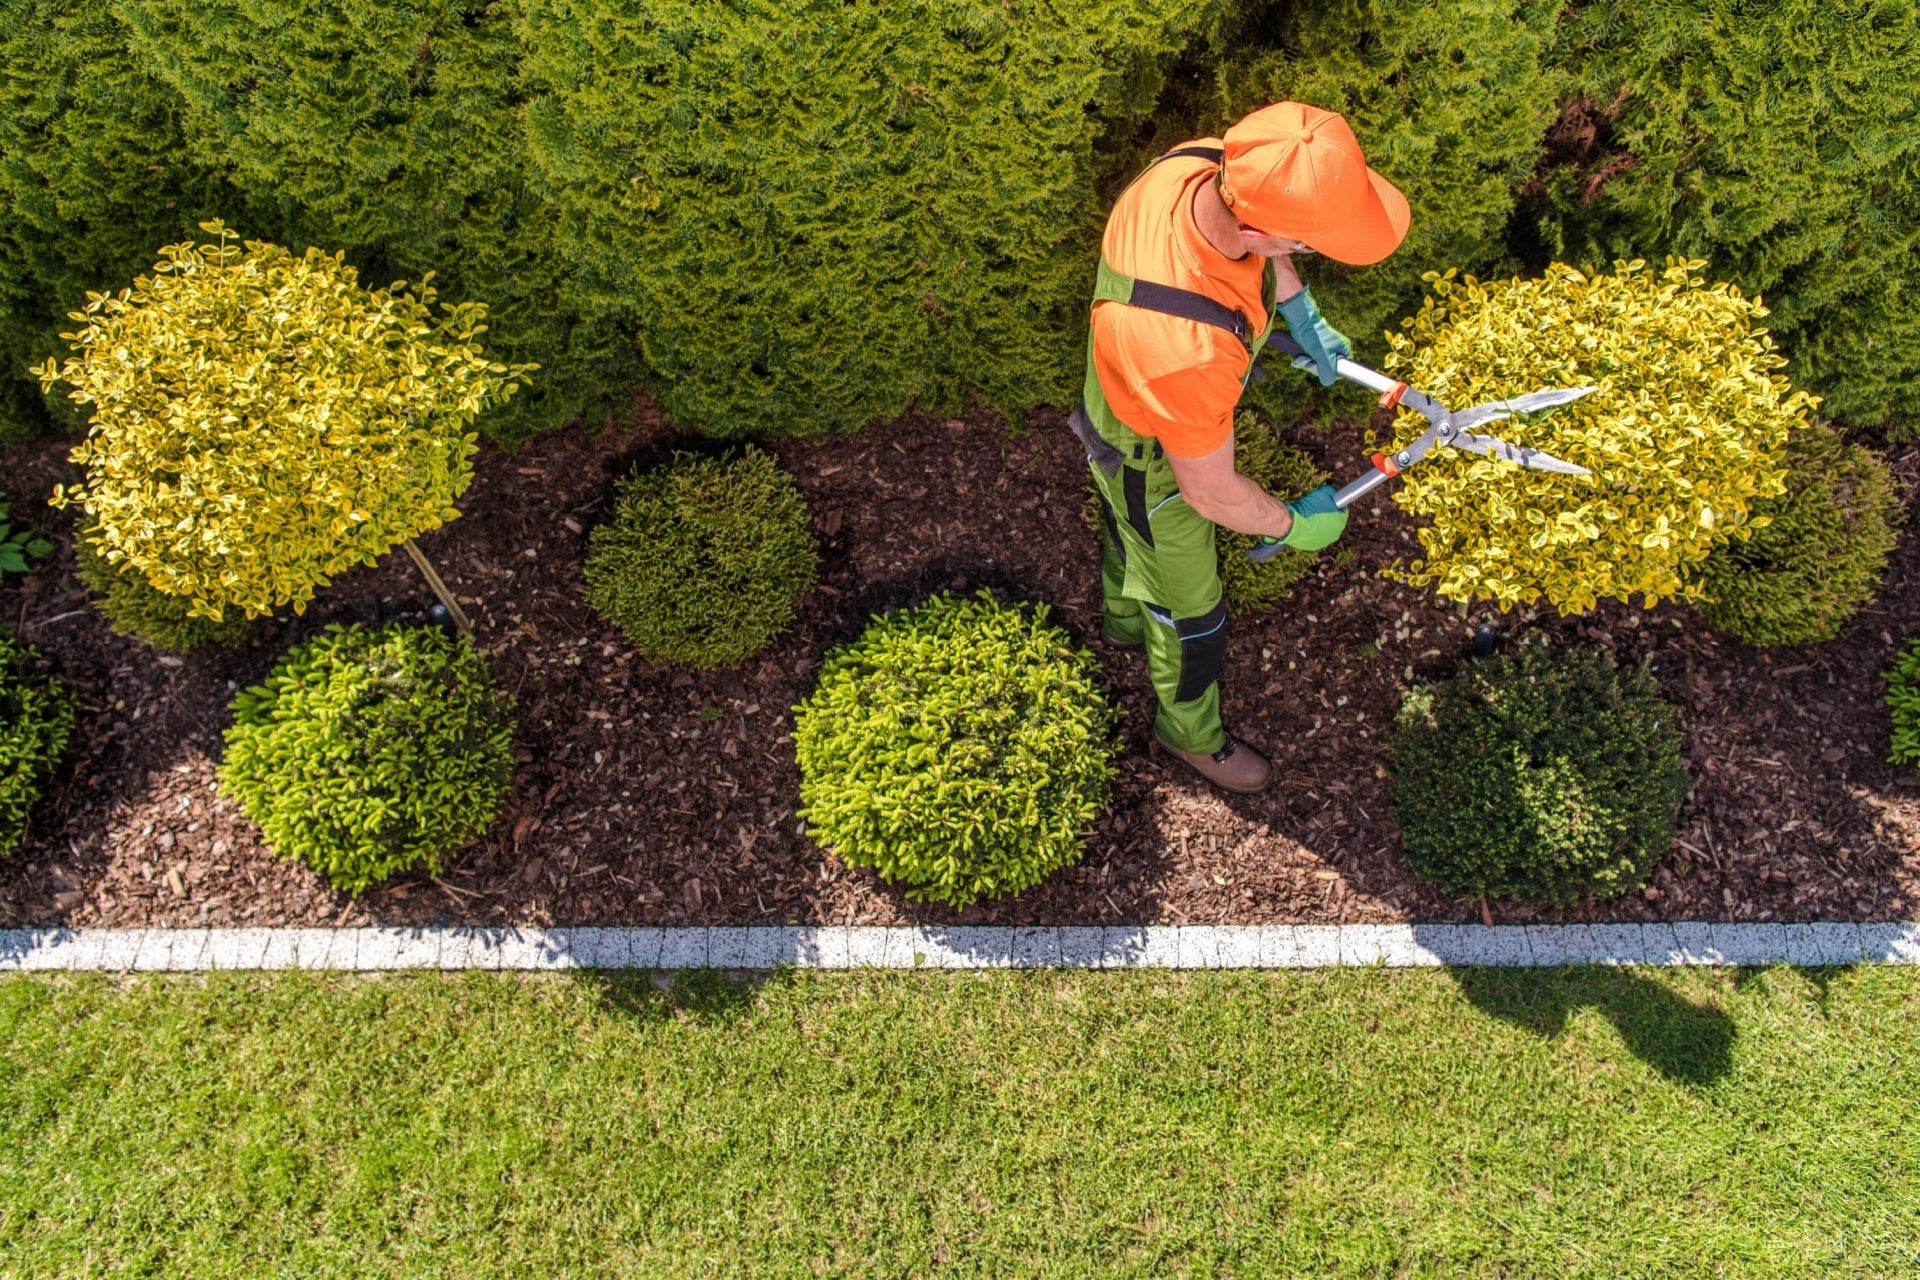
Maintaining Your Rock Garden
The first two years, plants will be establishing themselves and the garden might look a bit sparse. Make sure you water the plants as they need it so they can grow. Drip irrigation is easiest and the most water efficient. Allow some of your plants to spread in interesting ways. Some ground covers might expand to slightly cover the nearby rocks or move to a different part of the rocks to get better sunlight or shade.
Read more
One of the fun things about going to Disney World is looking at the shrubs shaped like animals. Topiaries, however, have a long history of being used to add whimsy to a garden. They are a fun proje...
Here are the most common uses to consider a plant for. Not every plant will work in every slot, but most plants will fit into at least one of these uses in a garden.